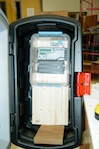
Here is the initial view of the actionpacker mounted to the pressure treated 2x12. Note the fender washers and wood screws holding the actionpacker against the pressure treated 2x12.
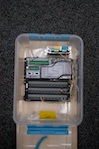
Shown here is the instrumentation inside the 'waterproof' inner enclosure. In practice, the 12volt battery goes in the bottom where the 2x12 lumber is shown in this photo.
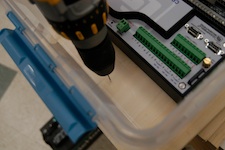
This photo shows marking of wood screws holes. I marked the end of this screwdriver with a paint marker. Poking the screwdrive on the plastic leaves a black smudge. Then the instrumentation can be removed and the pilot holes for the screws drilled without difficulty (or as much of it).
Just showing here the pilot hole drilling, following up on the previous photo.
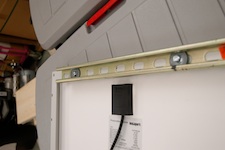
Solar Panel to unistrut connections is shown here. The usual hardware: fender washers, cone nuts, and a short hex bolt.
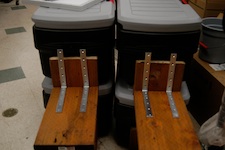
I haven't really shown the botom of the actionpackers yet. Here's a couple. The large 90 degree angle brackets are secured with wood screws to the long and short pieces of pressure treated 2x12. Place the empty actionpacker in the crook and secure in place with wood screws and fender washers. The short, stubby paltform will take the weight of the battery.
This isn't a general part of the tripod but just a final product view of the installed instrumentation inside the clear 'waterproof' tote. It's a touch snug but everything fit. A larger clear tote could also be used without difficulty. Wooden backpanel is a 3/4" x 12" piece of wood.